
Weather Setup
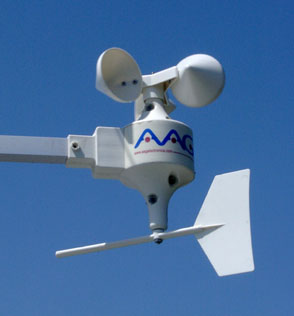
| With some minor modifications and the proper firmware, the OpenTracker is capable of connecting to the AAG TAI8515 1-Wire Weather Instrument. This low-cost weather station provides wind speed, wind direction, and temperature readings. It consumes very little power, making it suitable for solar powered installations. It can be purchased through AAG Electronica or Hobby Boards. |  |
 |
The first step in setting up the OpenTracker for 1-wire operation is to install a 680-ohm pull-up resistor. The easiest way to do this is to omit the 10-pin header and instead solder the resistor between pins 4 and 8. |
| Next, to make the 1-wire bus accessible through the serial connector, run a jumper wire from pin 7 of the serial connector (X2) to pin 7 of the microcontroller (U1). |  |
 |
The weather instrument takes an RJ11 connector - you can use a common 2-conductor telephone line cord. Pictured here are the pin assignments on the end that connects to the weather instrument. On the OpenTracker end, you can either terminate the cable with a DB9 connector, or use an adapter. Either way, the data line should be connected to pin 7, and ground to pin 5. Be sure to leave the supplied loopback device installed in the station's second port. See the OpenTracker manual for information on loading and configuring the OpenTracker. |
![]()